3 main steps as follow:
- Create campaign
- Install pixel code into your website
- Add widget notification
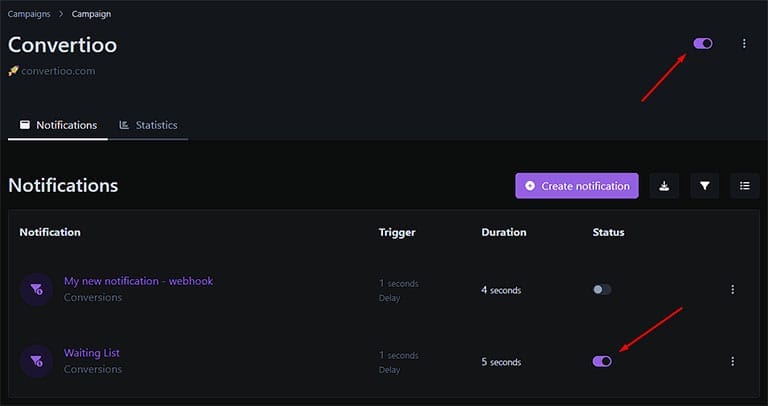
Then in the widget notification, you can customize text, design, color, image, animation, and more. Don’t forget to activate the campaign and widget notification you have just created. Let’s see the process.
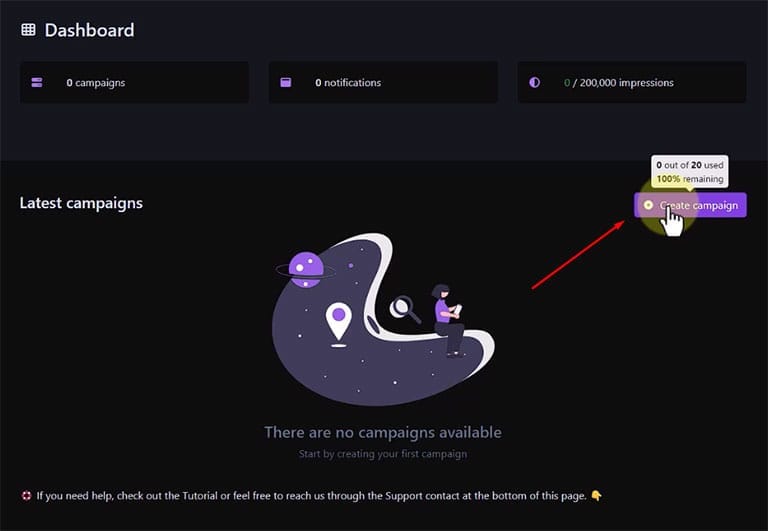
1. Create campaign
On your account dashboard, click Create Campaign button.
2. Copy-paste pixel code
Copy and paste our pixel code into head tag of your website.
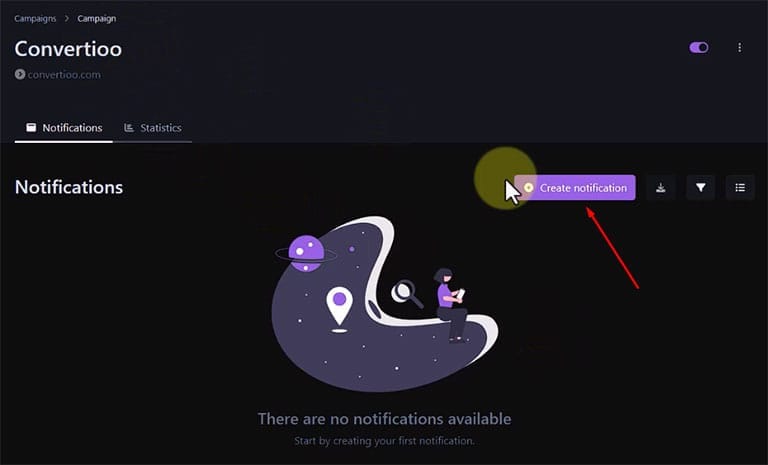
3. Add widget notification
Create or add widget notification by clicking the Create Notification button.
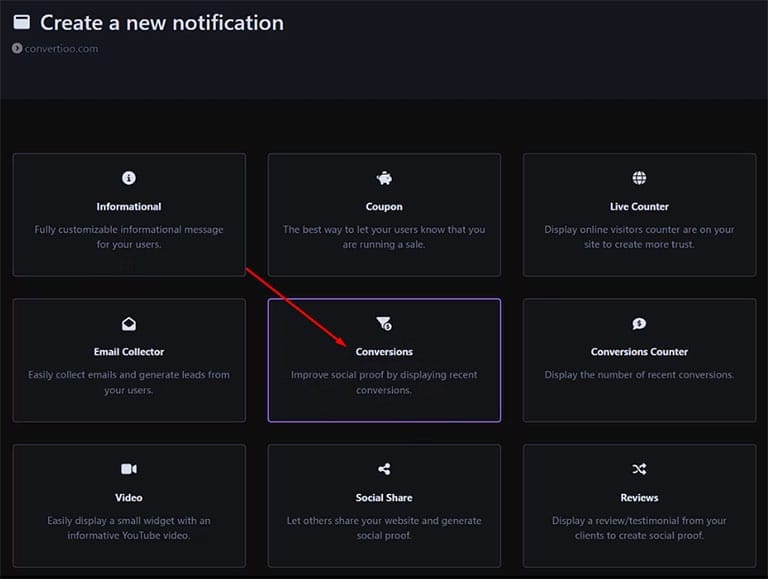
Choose Conversions to add Social Proof Notification Widget into your campaign. Then click Create button (see the bottom of page).
In the widget Settings → Data, activate Auto Capture Data, choose Contains, and insert your web page URL that has a form.
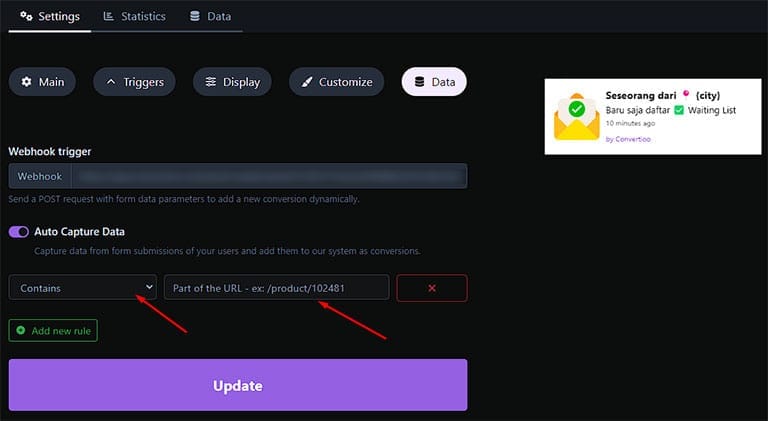
Don’t forget to click Update button each time you made changes.
Then in the widget notification, you can customize text, design, color, image, animation, and more. Don’t forget to activate the campaign and widget notification you have just created. Start testing by submitting the form on your web page.